
If you’re wanting to learn about Clickbank affiliate marketing…
You’re in the right place!
Because in this post, I’ll show you the most powerful way to promote Clickbank products as an affiliate.
Furthermore:
We’ll look at examples so you have a Clickbank game plan you can implement right away.
Let’s dive in…
Clickbank Affiliate Marketing in 2024
(The Ultimate Guide For Beginners)
Step 1: Sign Up For A Clickbank Account
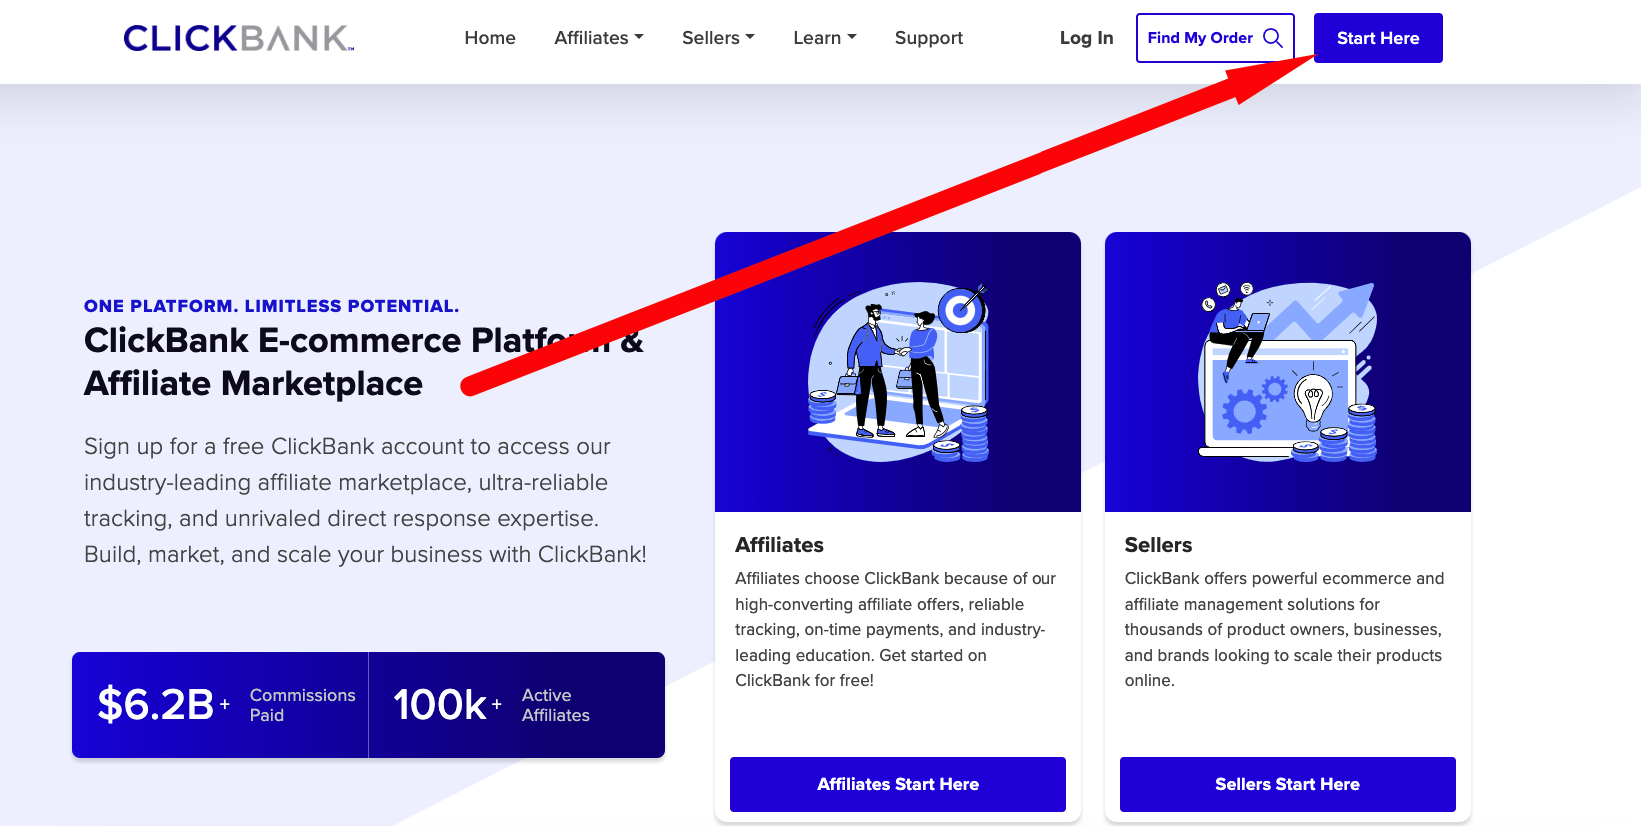
The first thing to do is to create an account with Clickbank, which is free to do.
To start, head to Clickbank then click the Start Here button:
A quick start guide will popup asking why you’re signing up for a Clickbank account.
This is just so Clickbank can ensure you have the best experience possible, and so they know where you’re at exactly in your affiliate journey:
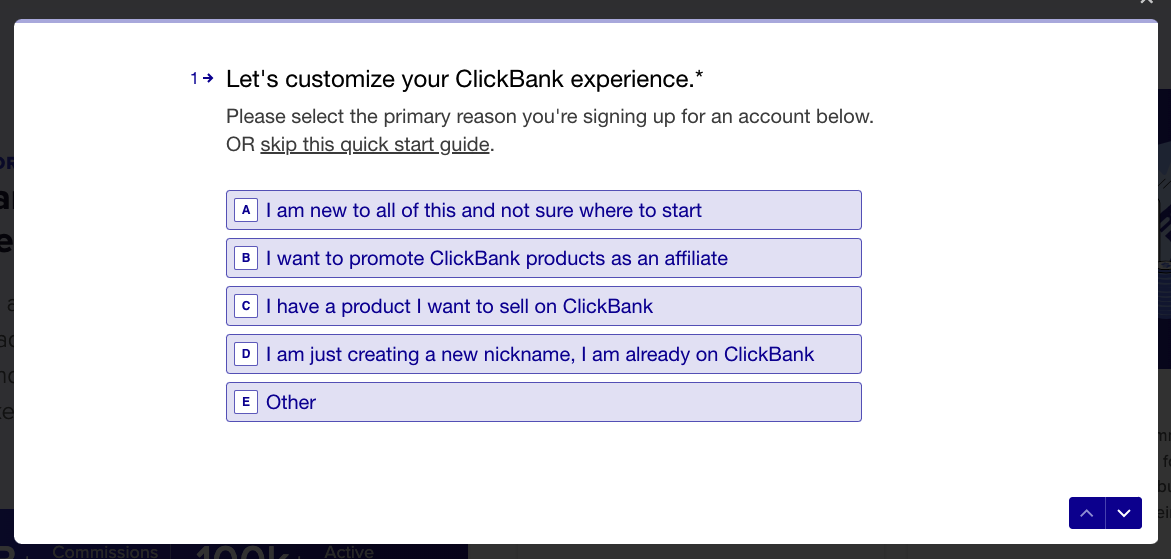
You can skip the quick start guide if you want to, or go through a series of questions Clickbank will ask you.
If you’ve never used Clickbank before, I would recommend going through the quick start guide.
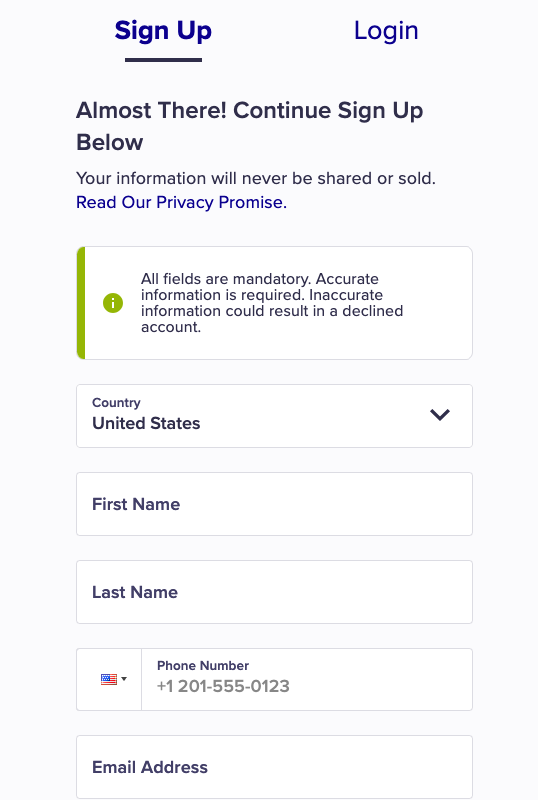
Next, you’ll need to create a Clickbank account.
Be sure to fill in all fields as they’re all mandatory:
When you log into your account, you’ll be logged into your Clickbank dashboard.
From here, you’ll need to complete your profile by adding in your address.
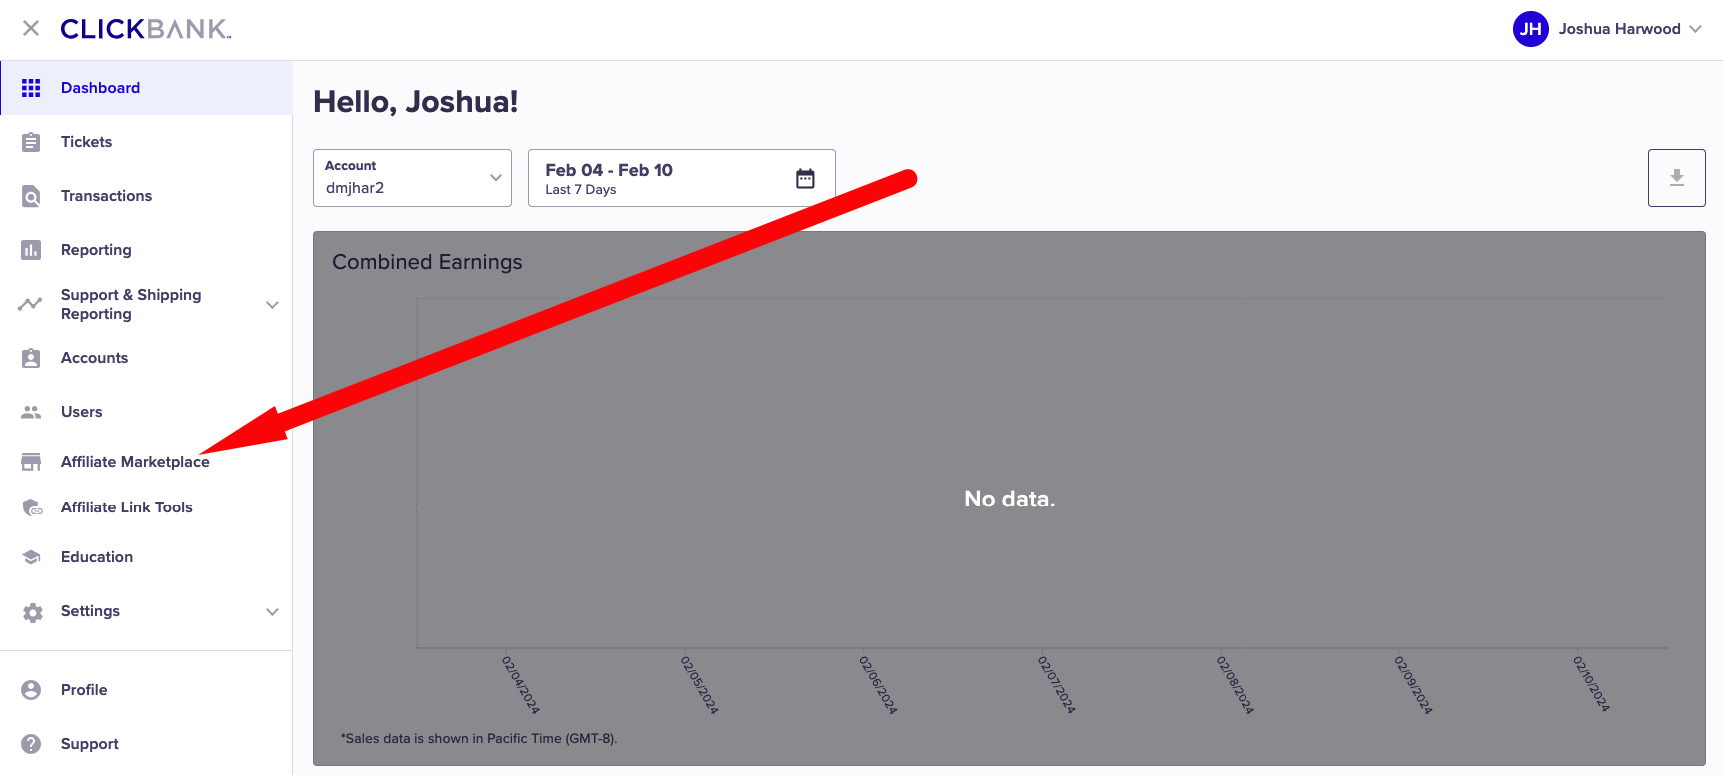
Step 2: Find Products To Promote
You can view Clickbank products by clicking the Affiliate Marketplace tab on the left hand side panel of the dashboard:
This will load the Affiliate Marketplace which looks like this:
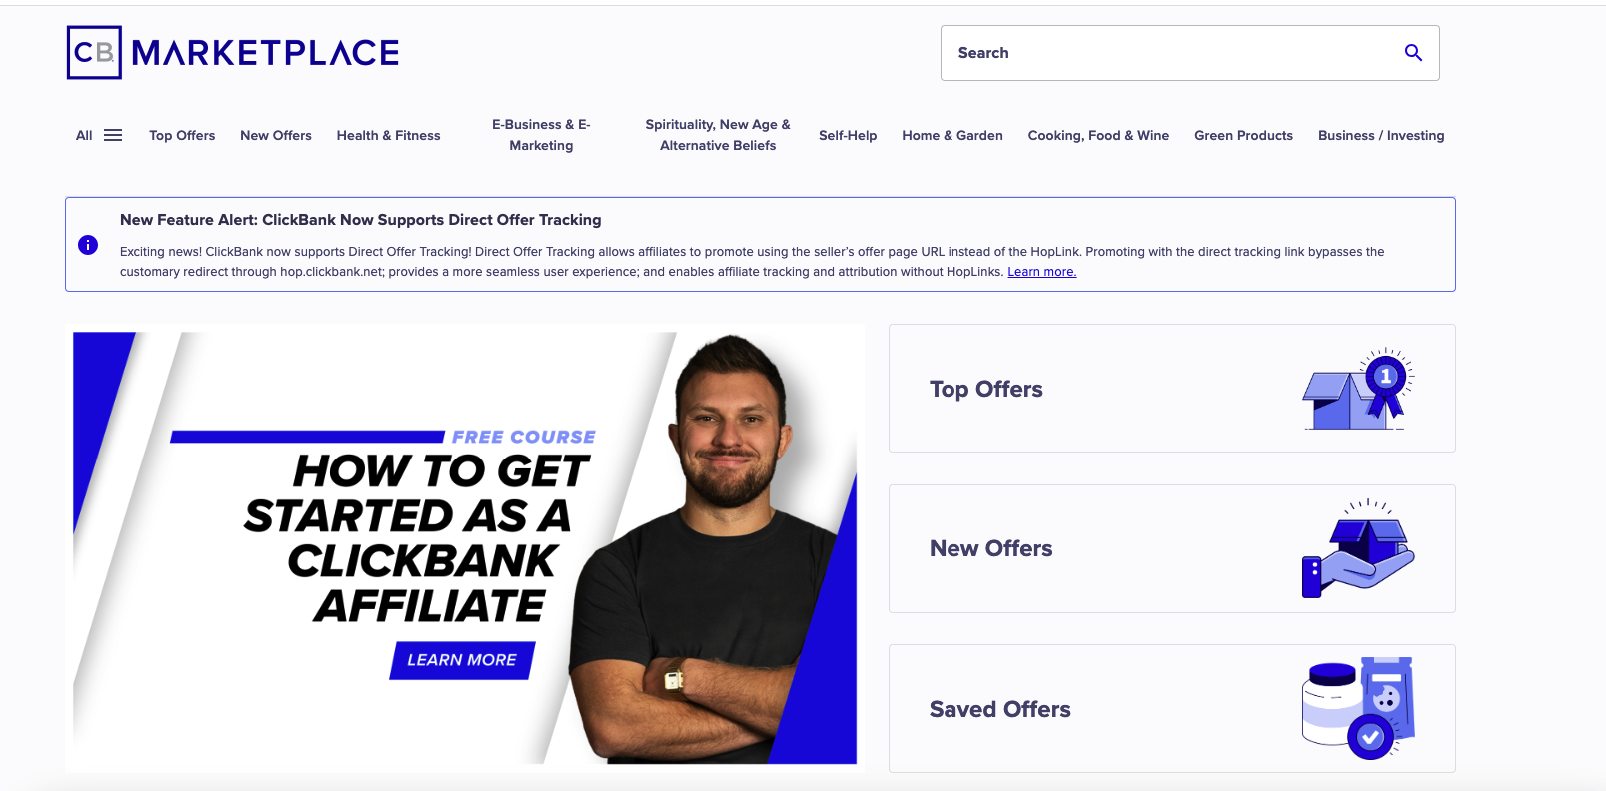
At the top of the page are different categories to make it easier to find niche specific products.
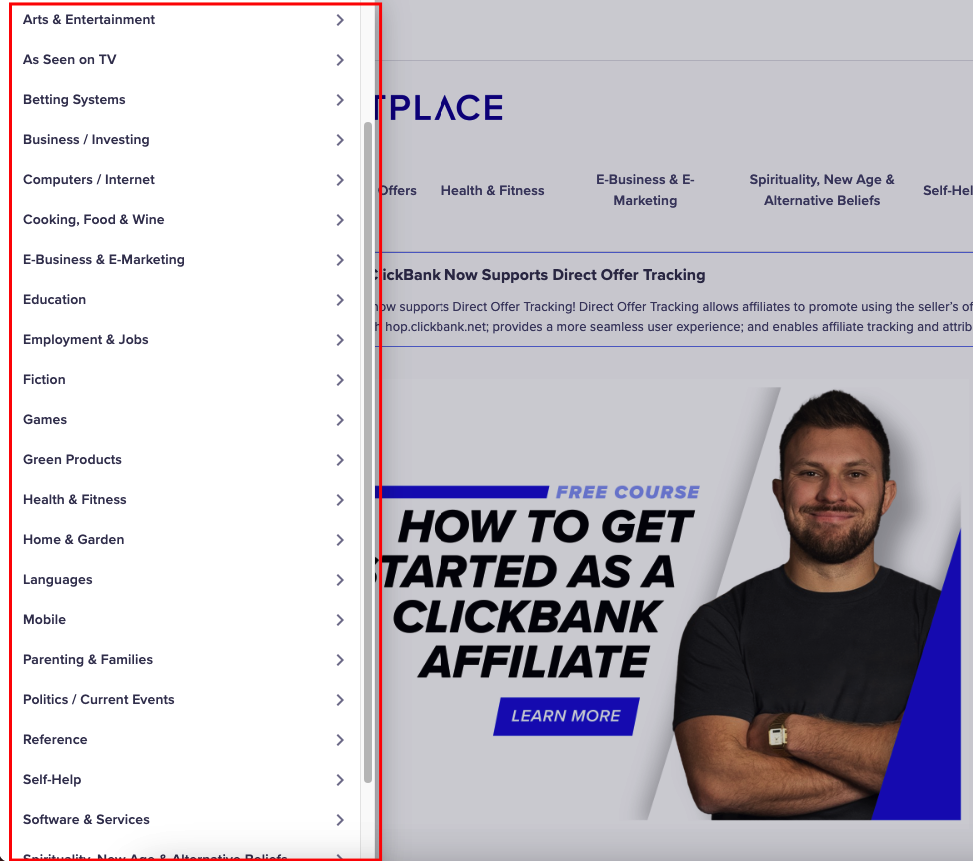
To the top left is an All tab.
Clicking that loads all the Clickbank categories.
Like so:
It’s up to you on what kind of products you’d like to promote.
But in this demo, I’m going to view products in the home and garden category.
So, I’ll click that option to see all the different products available within that specific category.
To the top right is a Sort Results By tab.
I would recommend clicking that and choosing the Rank: High – Low option so Clickbank shows the most popular products first:
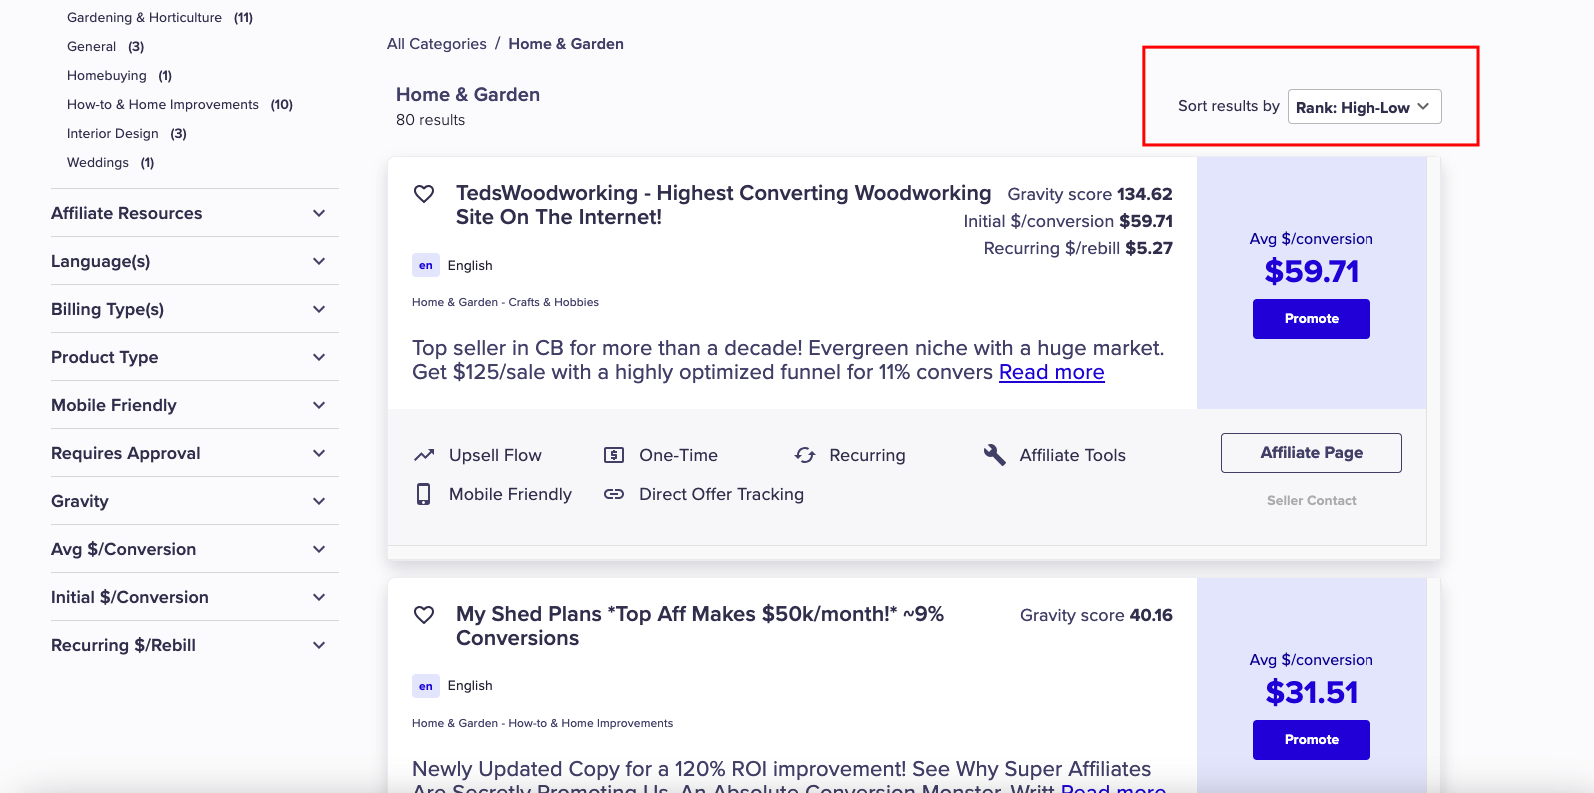
All of these different listings you’ll see are products:
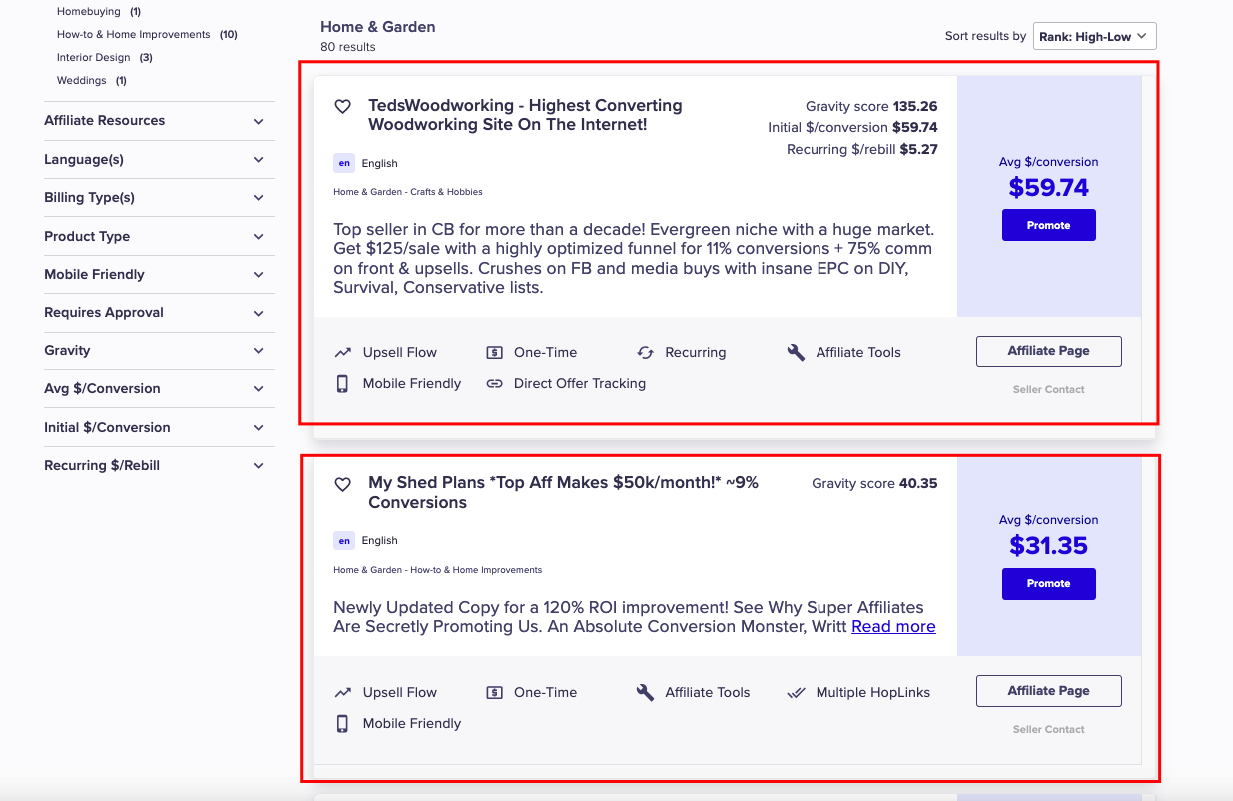
Each product listing has information about the product so you get insights into how much money can be made, and whether it’s recurring billing etc.
The main metrics to pay attention to are the Gravity Score, Initial $/Conversion and Recurring $/Rebill.
Here’s a breakdown of what these mean:
Gravity Score
The gravity score is a score based on the number of unique affiliate’s who’ve generated sales over the past 12 weeks.
The higher the gravity number the better, as this shows affiliate’s are currently making sales from that product.
Initial $/Conversion
The average commission earned per conversion excluding rebills. (How much you’ll make excluding recurring commissions.)
Recurring $/Rebill
Average commission earned per rebill of recurring sales. (How much you’ll make on recurring commissions, if the product being promoted has recurring billing.)
When looking at products, you might also see this Affiliate Page tab:
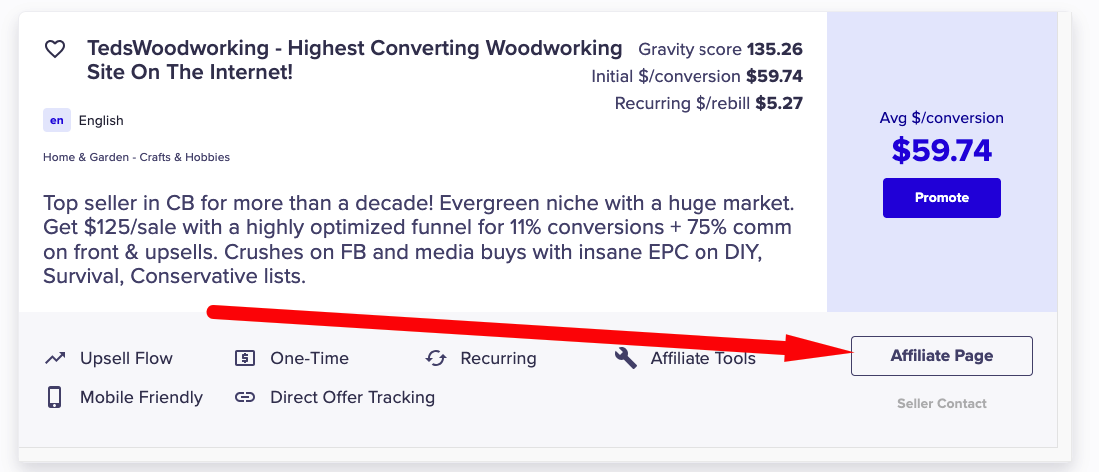
Clicking on that will take you to an affiliate page specific to that product.
The affiliate page will include more info about the product, as well as affiliate tools to help you promote the product.
When you’re ready to start promoting a product, click the Promote tab to generate an affiliate link:
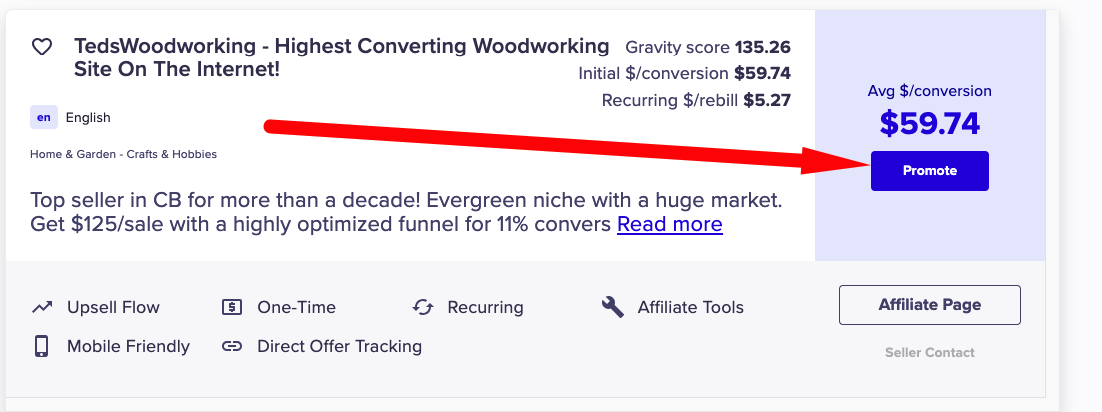
Clickbank will load a window where you can create your affiliate link.
That’ll look something like this:
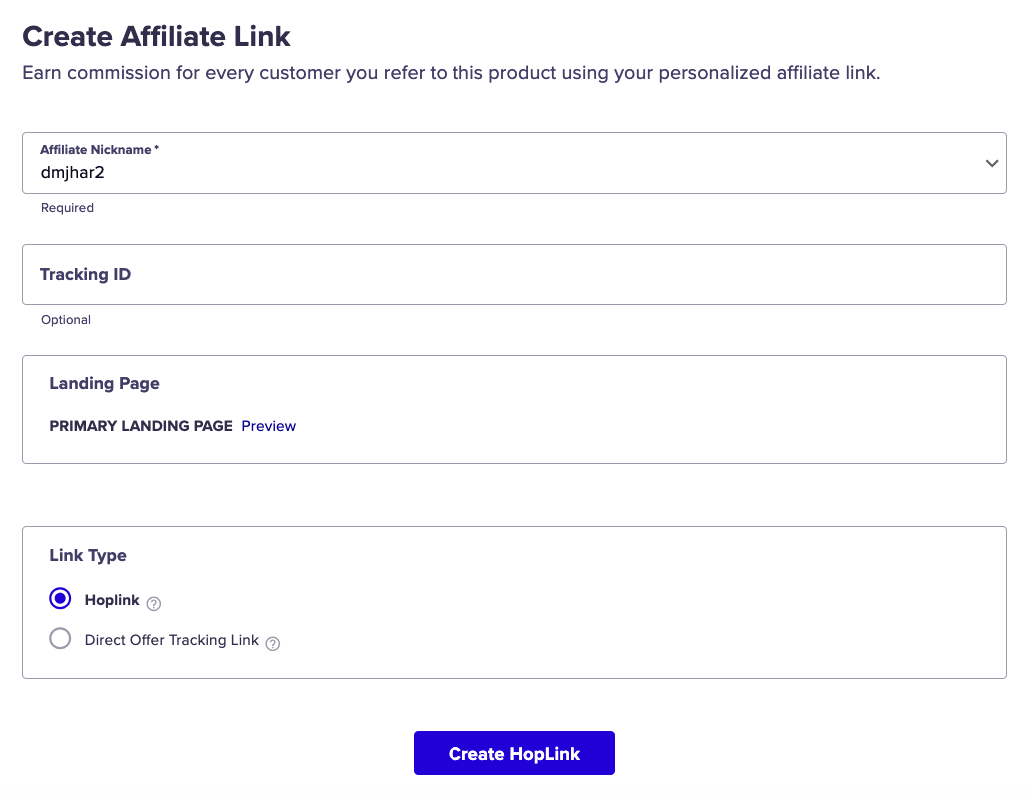
Let’s breakdown each of the sections so you know what they mean exactly:
Affiliate Nickname
This is your Clickbank ID..
Tracking ID
This let’s you track all clicks and sales to that specific affiliate link.
I would highly recommend always having tracking IDs for every affiliate link you create on Clickbank.
A great way to use tracking ID’s is to put something in there that reflects how you’ll be promoting that affiliate link.
Landing Page
The page your referrals will land on when clicking your affiliate link.
Link Type
I would suggest always choosing the Hoplink option. (A hoplink is Clickbank’s term for affiliate link.)
When you’ve added in your details, your affiliate link will appear at the bottom.
Like so:
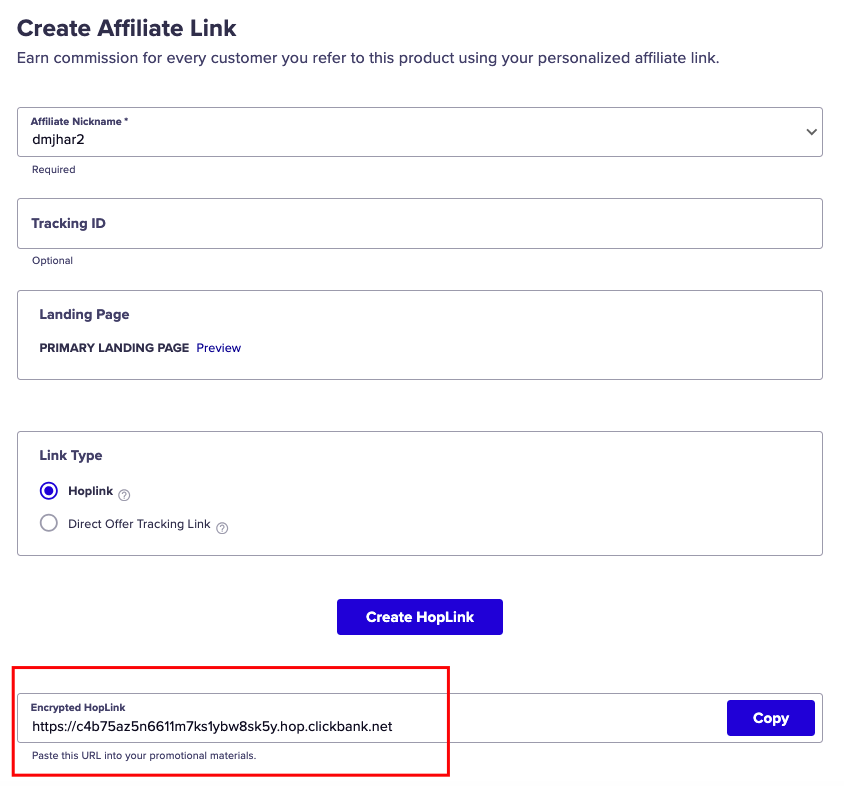
That’s the link you’ll promote online.
All clicks and sales to that link will be tracked back to you the referring affiliate.
This process of generating a Clickbank affiliate link is the same for all products you’d like to promote from Clickbank.
Step 3: How To Promote Affiliate Products From Clickbank
There are many ways to promote products from Clickbank.
But in my opinion, the best way is to use a blog funnel.
A blog funnel is where you have your own affiliate website and promote products within blog posts.
You’ll also use your blog posts to build an email list, then promote products via email marketing.
Here’s a birds eye view of the process:

[Click on the image to enlarge it.]
Let’s take a look at each step in the blog funnel…
#1: Free Traffic From Google
Where you get free (targeted) traffic from Google by using SEO techniques to get your content ranked in Google.
#2: Blog Post + Lead Magnet
All traffic from Google lands on a blog post on your website.
These blog posts will help your audience, promote affiliate products from Clickbank, and promote lead magnets to build your email list.
#3: Email Sequence
When users opt in for a lead magnet, you’ll add them to an email sequence within your autoresponder.
Your email sequence will be used to build trust with each lead, and to promote affiliate products.
#4: Bridge Page + Pre-Sell
This is the page a lead is redirected to after they’ve opted in for a lead magnet.
A bridge page is used to build trust & rapport and to pre-sell an affiliate product.
#5: Affiliate Offer
Where you redirect leads from your bridge page over to your affiliate product.
When it comes to a blog funnel, one of the most important steps is blog posts.
And when it comes to writing blog posts, there are only 3 types of posts you need to focus on.
1: Product Reviews
Product reviews work incredibly well.
You can review a single product.
Or you can do a comparison style review and review multiple products side by side.
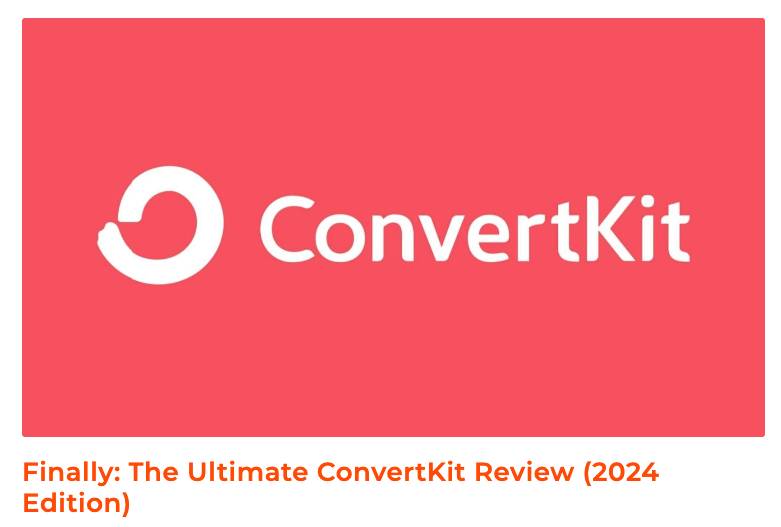
You can see an example of a single product review here, where I review ConvertKit, the email marketing service I use:
Then in this post, I’m reviewing the best landing page builders for affiliate marketing.
This is another review, but now it’s multiple products being reviewed.
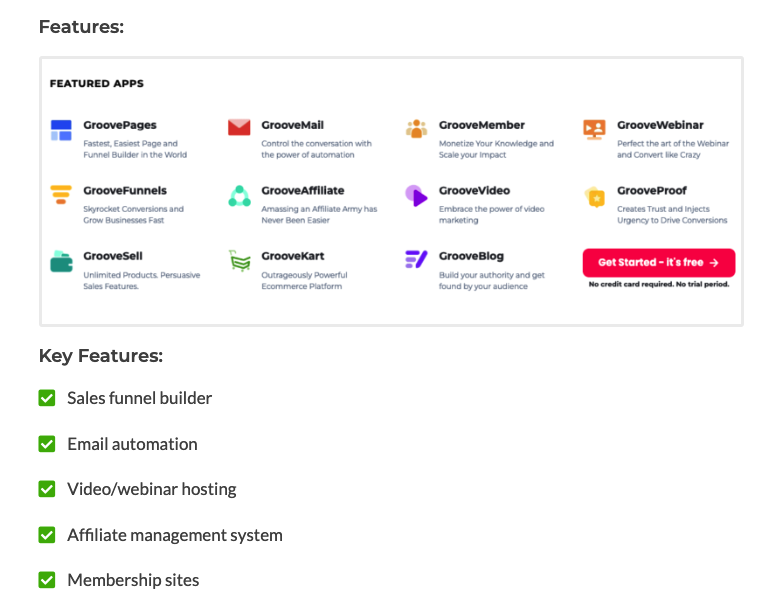
When writing product reviews, consider adding elements into the review such as a features/key features section like this:
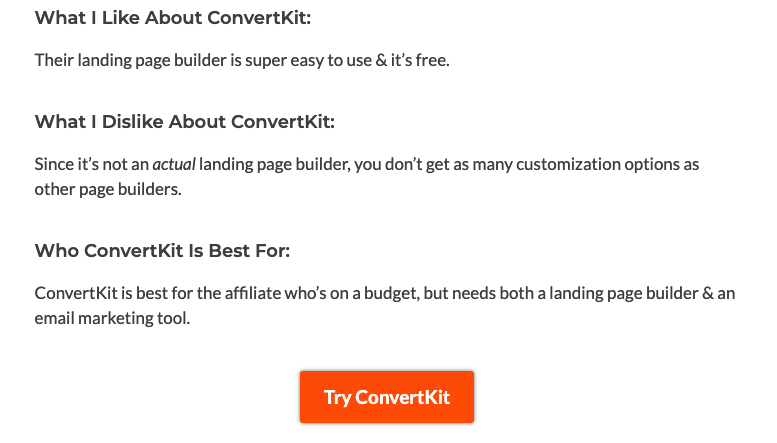
Or what you like/dislike about the product, like this:
You don’t have to include these specific elements.
These are just examples of things to consider adding into product reviews to give them more “weight.”
2: How To Posts
A how to post is where you teach people how to do or achieve something.
And of course, the post should tie into one of your Clickbank products.
The key to making these types of posts work is, ensuring the product being promoted is relevant to the content.
For example:
I have this how to post that teaches people how to become an affiliate marketer.
Within the post, BlueHost is being promoted:
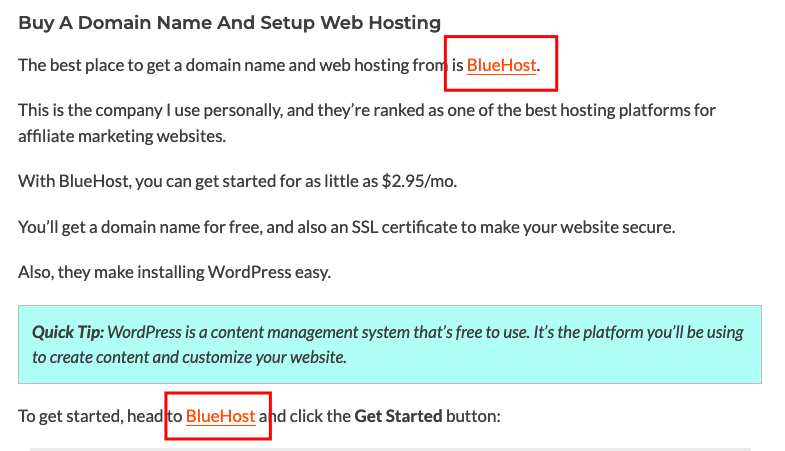
The product is relevant, because in the post I talk about creating a website.
And in order to create a website, you need web hosting, and BlueHost is a web hosting company.
With how to posts, promote your affiliate product as the solution to whatever it is you’re teaching within the post.
And be sure to provide as much information as possible within the post.
The more in-depth the post is, the better it will do.
3: List Posts
A list post is a numbered list of something.
With that something being a topic your audience is interested in.
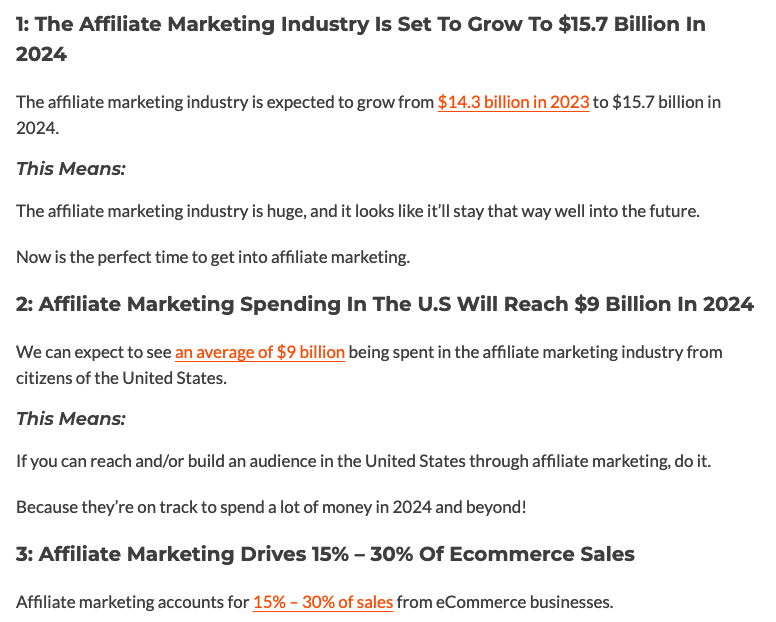
Here’s an example of a simple list post where I list 21 affiliate marketing statistics:
Your list posts can be a list of anything.
The list just needs to be around a topic that interests your audience.
And of course, the list should also contain affiliate products.
Step 4: Build An Email List From Your Blog Posts
Now comes the second part of your blog posts.
Promoting “lead magnets” throughout your posts so you can build an email list.
A lead magnet is an irresistible bribe offering a specific chunk of value that you give away for free, in exchange for someone’s email address.
Think of a lead magnet as a secret, a shortcut, or tips etc that your audience will find valuable.
A lead magnet can be anything, but you’ll find most lead magnets come in digital format.
Here’s a few examples of different types of lead magnets:
- eBooks
- Reports/PDFs
- Video training
- Checklists
- Cheatsheets
- Coupons
- Webinars
- Templates
- Courses
- Free trials
- Free samples
And here’s a real life example of a lead magnet:
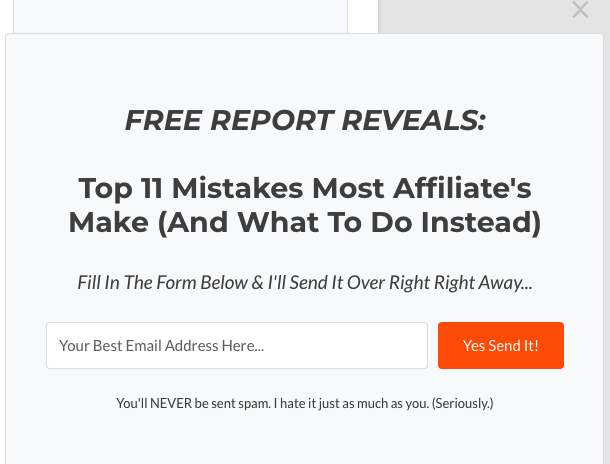
This is one of my own lead magnets that’s a free report. (The report is a PDF file which I created in Google Docs.)
This lead magnet “slides in” from the bottom right of many of my blog posts.
And here’s another lead magnet.
This one is from WPBeginner:
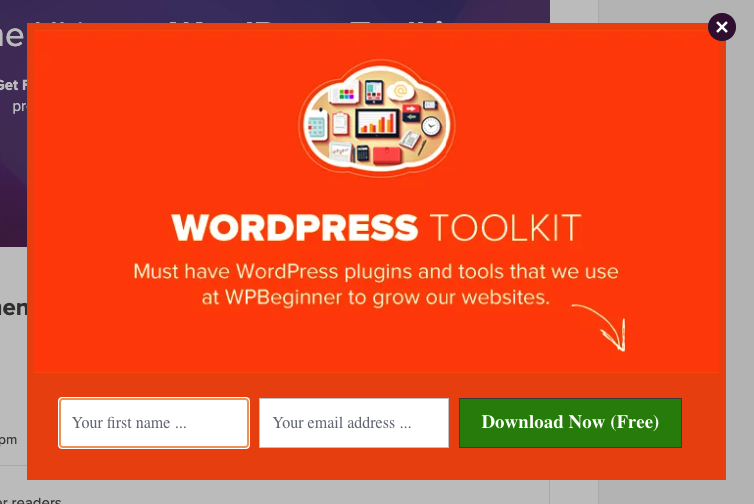
Their lead magnet is a WordPress toolkit, which sits at the bottom of all of their blog posts.
There are many ways to promote lead magnets from your blog posts.
Here are the 3 most popular ways:
- Slide in from the bottom of the page
- Exit intent pop-up (Shows when someone leaves your website)
- Within the content itself
Remember, the whole idea behind a lead magnet is to get people onto an email list.
When they join your email list, you’ll then put them into an email sequence.
There are 4 different types of email sequences you can write.
Each type serves a different purpose:
1: Welcome series. A welcome series is a great way to welcome new subscribers onto your list, to introduce yourself, and to let them know how you can help them.
2: Content series. The main goal with a content series is to provide value to your subscribers by sending them content they’ll find useful.
3: Promotion series. A promotion series focuses on the promotion of affiliate products.
4: Combination of the three. This type of series involves “weaving” welcome, content, and promotional emails together within one email sequence.
In my opinion, this type of sequence is the best.
Because you’re welcoming new subscribers, providing value, and promoting products all at the same time.
Step 5: Using A Bridge Page To Pre-Sell An Affiliate Product
A bridge page is pretty much just a thank you page.
It’s the page your leads should land on after they opt in for a lead magnet.
The goal of a bridge page is to thank people for opting in, and to pre-sell an affiliate product.
As mentioned above, most people won’t buy straight away when you pitch an affiliate product.
But that’s ok, because you would already have them on your email list at this point.
So, you can follow up with them via email and convert them into buyers over time.
Here’s an example of one of my own bridge pages,.
It’s a simple page that thanks people for opting in, then it pitches ConvertKit, an affiliate product:
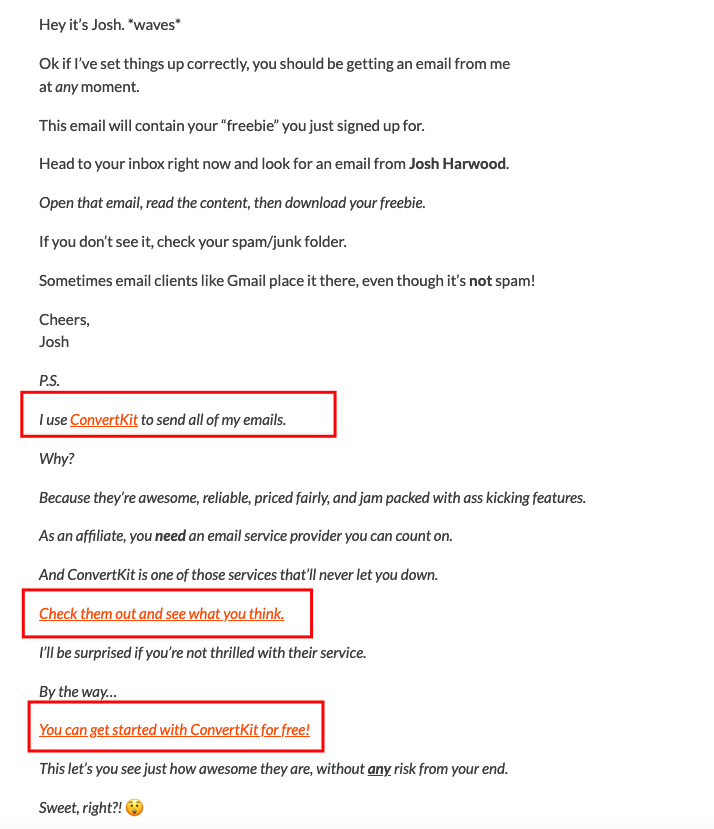
Ultimately, I don’t care if people click my affiliate link and/or buy or not.
Because I’ve just captured that persons email address and have them on my email list.
I then use email marketing to build a relationship, establish trust, to promote ConvertKit again, and to promote many other products.
This entire process makes up the blog funnel:
It’s a powerful strategy, and one of the best ways to promote products from Clickbank.
And if you pay attention, you’ll notice this very post you’re reading is doing everything covered in this post.
Conclusion
And there we go.
How to do Clickbank affiliate marketing.
Setting up a blog funnel takes a little bit of work.
But it’s incredibly powerful, because you’ll be building an email list.
And an email list is an asset, because a list can make you money for many years to come.
Now, over to you…
“Are you going to build a blog funnel for your Clickbank products?”
Let me know in the comments below.
I’d love to hear from you!